
CELPIP Blog
72 Hour CELPIP Test Day Checklist for Canada with Celpipguide
72 Hour CELPIP Test Day Checklist for Canada with Celpipguide
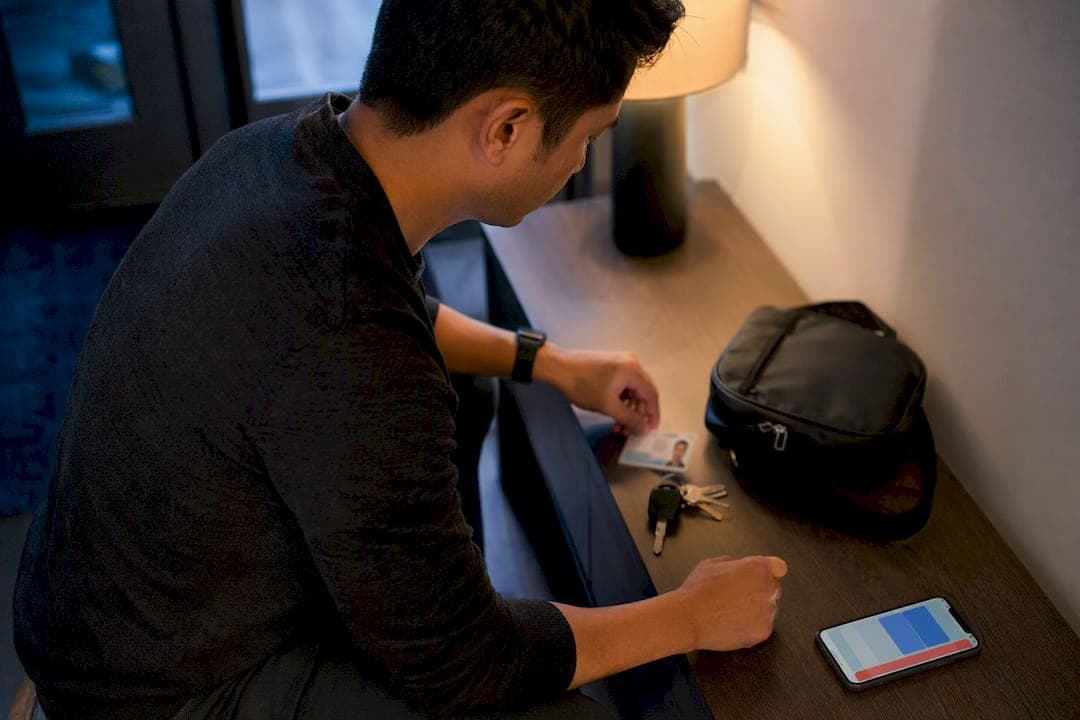
Bring the original, valid government-issued photo ID you used to register, and nothing else that looks like a substitute. Arrive early enough to check in, get a locker for your belongings, and complete a headset and microphone check before your workstation starts the clock. Leave your phone, smartwatch, and any recording device outside the test room. If your ID matches your registration exactly, everything else on test day is mostly a matter of showing up rested and following the room’s routine.
TL;DR:
- Ensure your official government-issued ID matches your registration exactly, with no name discrepancies or expired documents, to avoid being turned away.
- Arrive at least 30 minutes early to complete check-in, store belongings, and troubleshoot technical issues before your section starts.
- Pack only your original ID, confirmation, and a water bottle, leaving all electronics, notes, and extra pens at home to meet strict security rules.
- Run a timed mock exam at the same time of day as your test to build familiarity and reduce nerves on test day.
- Confirm all logistics and required documents 72 hours in advance, and create a backup of your ID and confirmation email on your phone.
Table of Contents
- Getting ready the night before your CELPIP test
- What to bring for CELPIP, and exactly what to leave home
- What happens when you arrive and check in for CELPIP
- What to expect during the CELPIP test itself
- The mistakes that get candidates turned away
- Your final 72-hour CELPIP ID checklist
- A quick word on nerves before test day
- Get exam-ready with Celpipguide before test day
- Sources
- FAQ
Getting ready the night before your CELPIP test
Most test-day disasters get built the night before, not the morning of. A few minutes of checking now saves you from panicking in a parking lot later.
Start with your confirmation email. Open it, actually read it, and confirm the test date, start time, and the exact address of the test centre. Test centres sometimes share a building with other businesses, and “close enough” addresses have cost candidates their appointment slot before.
Next, pull out the exact ID you used when you registered. It needs to be the original document, unexpired, with a name that matches your registration letter for letter. If you’ve changed your name since registering, whether through marriage or a legal update, you need to fix that mismatch with CELPIP before test day, not explain it at the front desk.
- Confirm your test date, time, and centre address against your confirmation email
- Check that your registered ID is original, current, and name matched
- Map your route and parking, then add 20 to 30 minutes for traffic or transit delays
- Pack your ID, confirmation, and any permitted small items the night before
- Keep payment receipts or confirmation numbers somewhere you can pull up quickly
Plan your route like you’ve never driven it, even if you have. Parking at unfamiliar test centres can eat 15 minutes you didn’t budget for. Pack everything the night before so your morning is just “grab bag, go.” And keep a copy of your payment confirmation or receipt on your phone or in print. Front-desk staff occasionally ask for it if there’s any question about your booking.
What to bring for CELPIP, and exactly what to leave home
Your bag on test day should be almost empty. That’s the point.
The one non-negotiable item is your original government-issued photo ID, and it has to exactly match your registration: same name, same document number, same expiry date not yet passed. Official CELPIP guidance and Immigration, Refugees and Citizenship Canada resources are both clear that this test carries real weight for immigration applications, which is exactly why the ID rules get enforced so strictly. CELPIP’s own social channels have repeatedly reminded candidates to bring their passport or original photo ID, warning that photocopies or mismatched documents can get you turned away at the door.
Beyond your ID, here’s what actually belongs in your bag:
- Your original, valid photo ID (passport, driver’s licence, or permanent resident card)
- A printed or easily accessible copy of your test confirmation
- A clear water bottle, if your specific centre allows it
- A light jacket, since testing rooms can run cold for hours at a time
Now the leave-at-home list, which matters just as much: phones, smartwatches, smartglasses, fitness trackers, pens, paper, notes, and any recording device. These get locked away before you sit down, no exceptions. If you take medication or use a medical device, tell the centre staff when you check in so they know what you’re carrying and why.
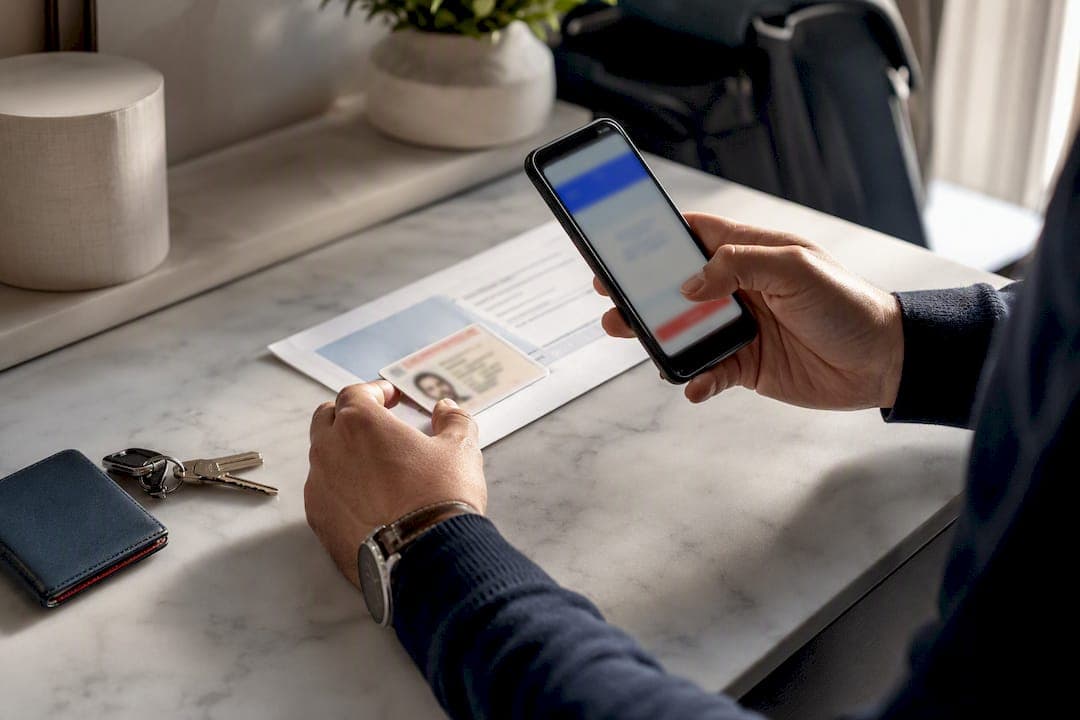
Pro Tip: Take a photo of your ID and confirmation email on your phone the night before, then leave the phone in the car. If a staff member has any question about your documents, you can pull up backup proof without needing your phone inside the centre.
What happens when you arrive and check in for CELPIP
Arrive well ahead of your scheduled time to allow for check-in and preparation. Not five minutes. Not “I’ll text if I’m running behind.” Thirty.
- Check in at the front desk, where staff verify your photo ID against your registration name, document number, and expiry date.
- Store your belongings in a locker. Phones, bags, watches, and anything else not on the permitted list goes in here before you touch a workstation.
- Get your wristband or seating assignment, which staff use to confirm you’re seated at the right station for your specific test.
- Sit down and run a headset and microphone check. If your headset is missing, cutting out, or the mic isn’t picking up your voice, flag it immediately, before the section timer starts.
- Raise your hand for any technical issue. Test-centre staff are there specifically to handle equipment problems, so use them.
If you’re running late or can’t locate the centre, call the number listed on your confirmation email right away. Centres have some flexibility for minor delays, but that window closes fast once your scheduled session is underway.
What to expect during the CELPIP test itself
CELPIP runs in a fixed order: Listening, Reading, Writing, then Speaking, each with its own time allotment displayed directly on your workstation screen. You’ll see a running countdown for each section, and once time is up, the system locks that section and moves you forward. There’s generally no extra time added for a technical glitch, which is exactly why flagging equipment problems the moment they happen matters so much.
Within each section, you navigate between questions on-screen, and most sections let you move back to review earlier answers before the section closes. Your headset volume and microphone sensitivity are adjustable at your station, so if something sounds off partway through, raise your hand and let staff make the adjustment rather than trying to push through poor audio.
- Listening and Reading reward steady pacing over perfectionism on any single question
- Writing gives you a fixed window per task, so draft fast and leave a minute to reread
- Speaking is recorded through your headset mic, so speak at a normal volume and don’t rush your first few words while the mic settles
A quiet but important rule: you can’t talk to other candidates, leave the room without permission, or use notes at any point. Staff monitor rooms specifically for this, and behaviour that breaks these rules can put your results at risk, not just your comfort.
Between-section breaks aren’t guaranteed the way a coffee break is. Some test centres allow a short washout between sections; others move you straight through. Ask at check-in what your specific centre does, so you’re not caught off guard mid-test.
The mistakes that get candidates turned away
Almost every denial at check-in traces back to one of a handful of avoidable errors, and CELPIP’s own guidance flags ID problems as the most common by far.
- Name mismatch between your ID and your registration, including missing middle names or a legal name change never updated with CELPIP
- Expired ID or a photocopy, since only original, current documents are accepted at check-in
- Prohibited electronics or notes brought into the test room instead of left in a locker
- Arriving without your confirmation or showing up after your check-in window has closed
- Undisclosed accommodation needs, when a medical condition or required accommodation wasn’t flagged with CELPIP ahead of time
Fix name mismatches with CELPIP before test day. Everything else on this list is simply a matter of packing correctly and showing up on time.
Your final 72-hour CELPIP ID checklist
Run this in the three days before your test, and you’ll walk in with nothing left to worry about.
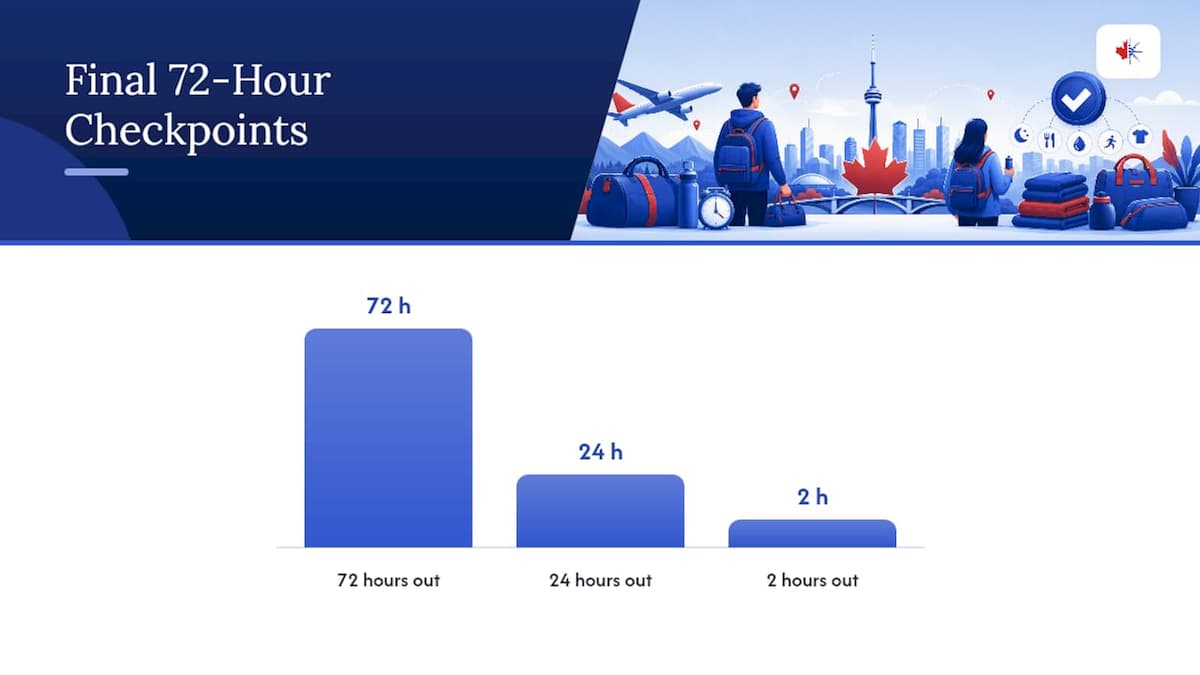
- 72 hours out: Confirm your original ID matches your registration exactly, and print or save your confirmation email.
- 24 hours out: Pack every permitted item, charge your phone for the drive over, and reprint your confirmation if anything looks off.
- 2 hours out: Do a final ID check, set two alarms instead of one, and gather any medication or supporting medical documents you need to declare.
If anything has changed, a lost passport, a legal name change, an expired licence, contact CELPIP immediately and follow their instructions rather than hoping it sorts itself out at the desk. A 72-hour ID checklist built specifically around this timeline catches most problems while there’s still time to fix them.
Pro Tip: Run a full, timed mock exam at the exact same time of day as your real test during this 72-hour window. Your brain performs differently at 8 a.m. than at 2 p.m., and matching the clock matters more than most candidates realize.
A quick word on nerves before test day
Nerves fade fast once the room stops feeling unfamiliar, and familiarity is something you can manufacture on purpose. Run one full, timed mock exam at the same time of day as your actual appointment. Your brain will recognize the rhythm of the test before you’ve even sat down at the real workstation, and that recognition is worth more than any last-minute cramming.
— Reza
Get exam-ready with Celpipguide before test day
Celpipguide gives you the one thing a checklist alone can’t: proof that you’re actually ready, not just organized. Instead of guessing whether your pacing or your speaking responses will hold up under a real clock, run a CELPIP readiness check to see exactly where you stand before you walk into the centre.
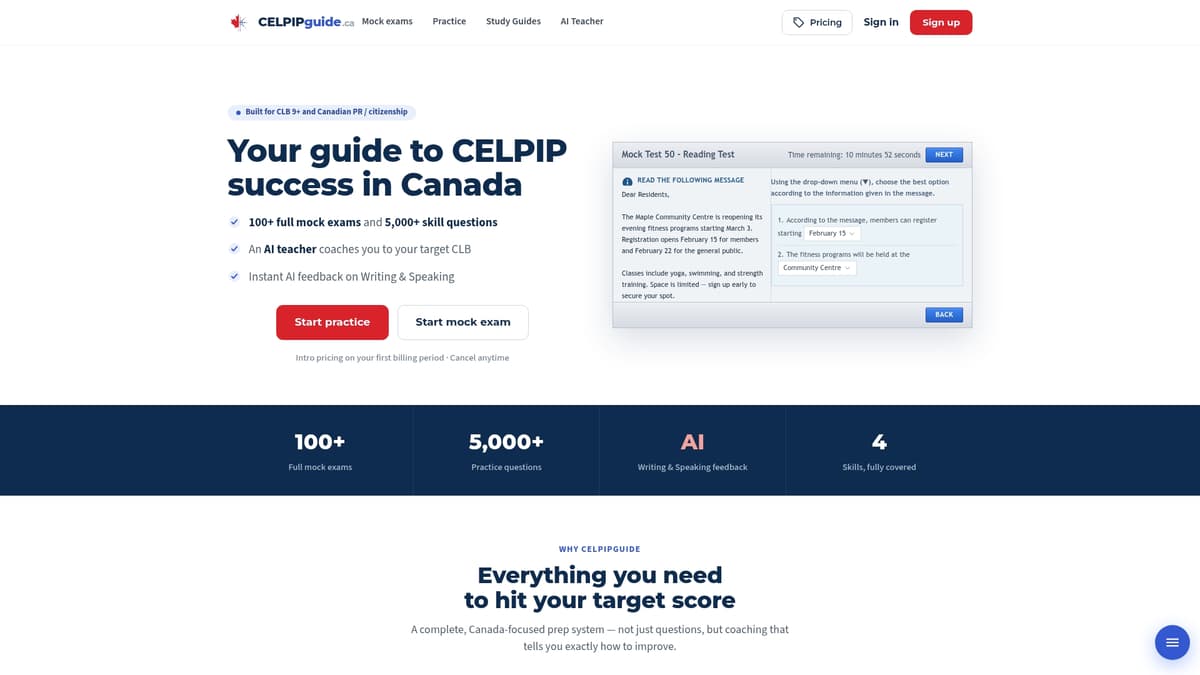
If your gaps are more about timing than knowledge, a full-length CELPIP mock exam rebuilds the real test-day rhythm, section order, on-screen countdowns, headset audio, and all, so nothing in the room feels unfamiliar. Instant AI feedback on your writing and speaking tasks tells you what a human marker would flag, days before your actual appointment does.
Sources
FAQ
Can I prepare for CELPIP in 3 days?
You can meaningfully sharpen your timing and confidence in 3 days with a full timed mock exam and a focused review of weak sections, though 3 days won’t build new vocabulary or grammar from scratch. Use the time for rehearsal and logistics, like your 72-hour ID checklist, rather than trying to learn new material.
What is 34 out of 38 in CELPIP reading?
CELPIP scores convert raw correct answers into a CLB level rather than a straight percentage, so your actual result depends on the specific test’s scoring conversion and may vary.
Is it hard to get a 9 in CELPIP?
Achieving a high CLB level requires near-fluent accuracy and natural pacing across all four skills, so it’s genuinely difficult without structured practice, particularly in Writing and Speaking, where rubric-based feedback matters most. Consistent timed practice with feedback, rather than casual review, is what typically closes that gap.
Is 7 a good CELPIP score?
Certain CLB levels meet the language requirement for several Canadian immigration and citizenship pathways, so for many applicants, achieving the required level is a solid, sufficient result rather than one that needs retesting. Whether it’s good enough depends entirely on the specific program or application you’re using it for.